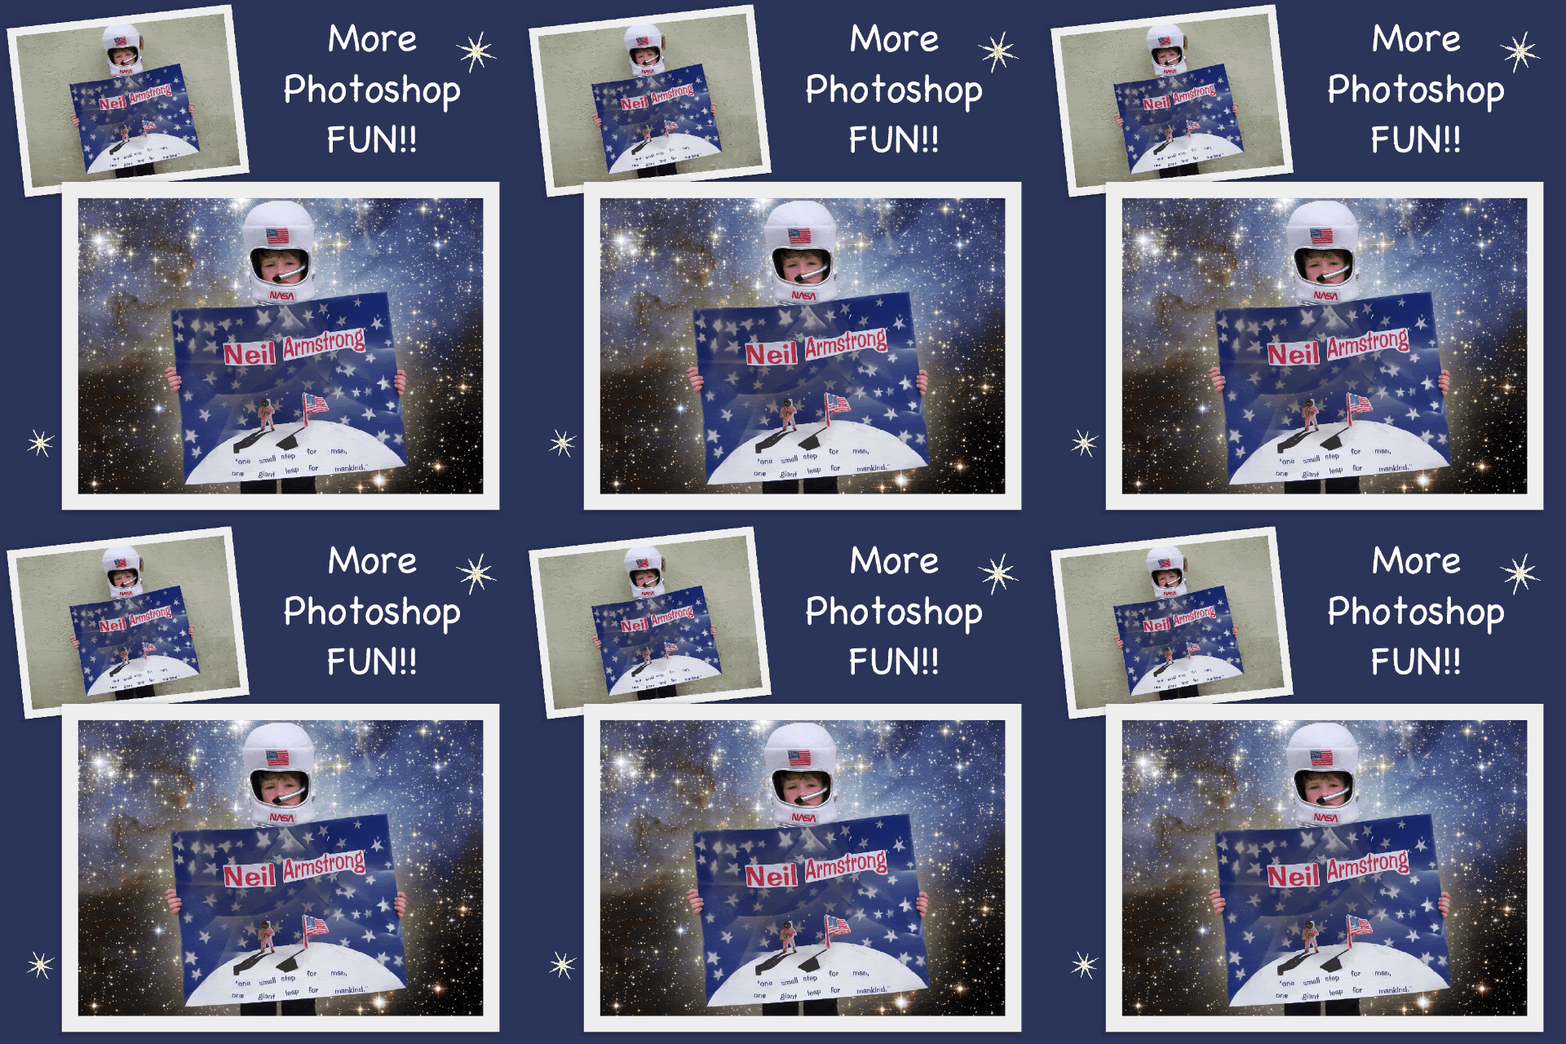
This was meant to be a wordless Wednesday but I decided I'd rather talk:)
Step 1
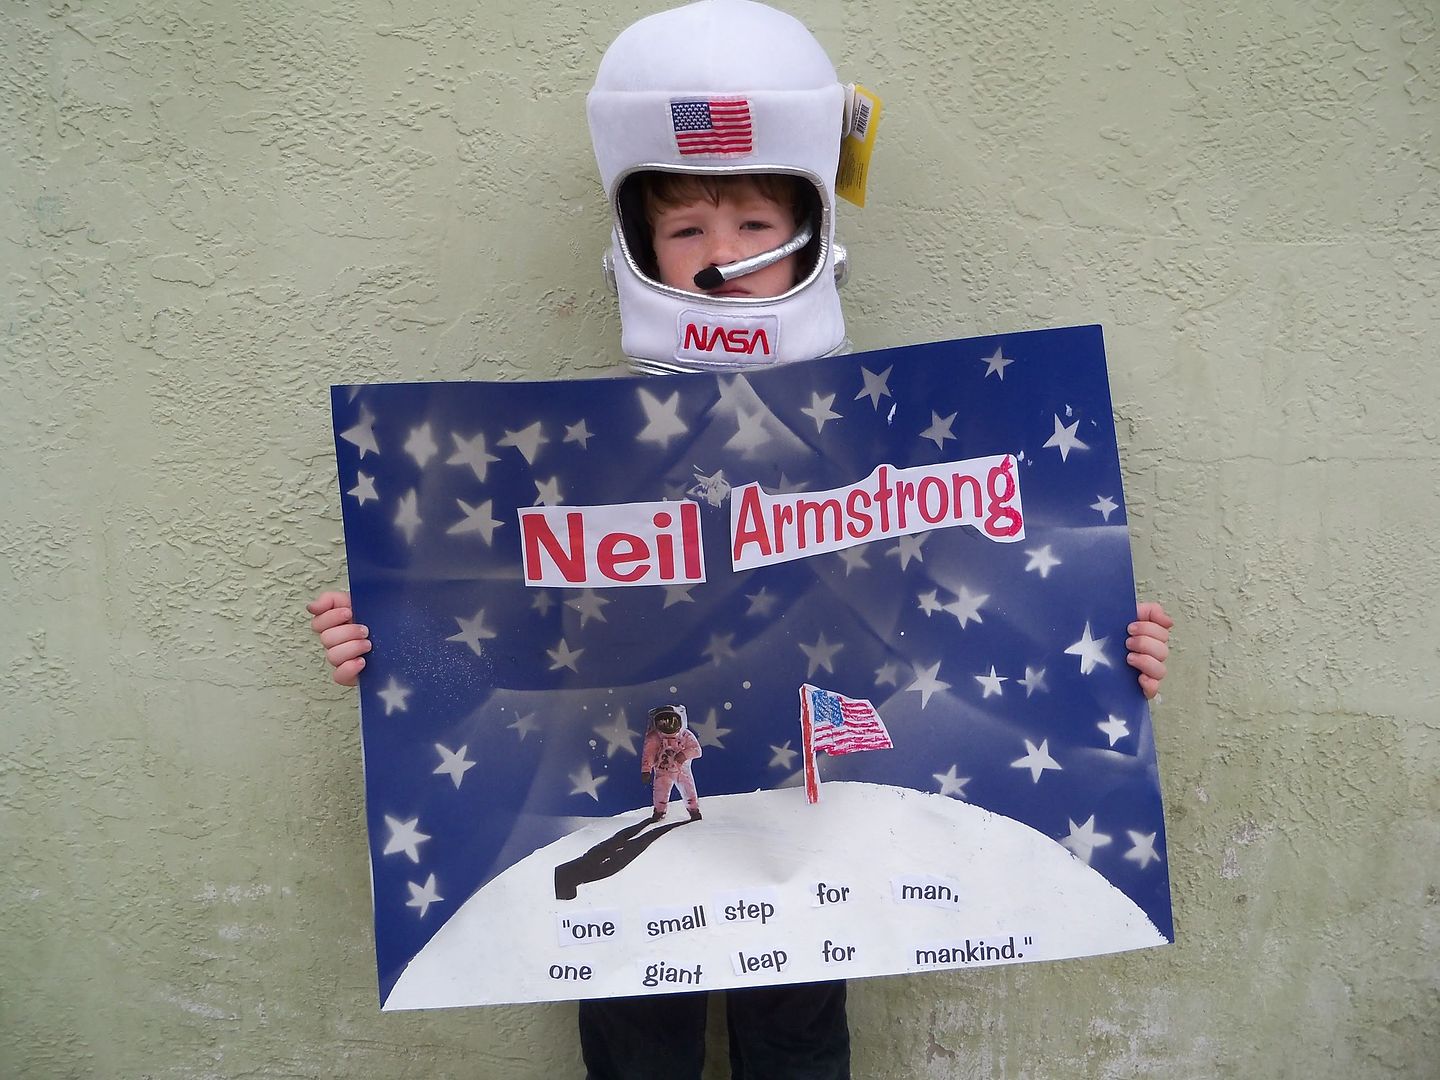
Take a picture of someone standing in front of a blank background. White background is ideal but any solid color will do.
Step 2
Upload your photo to photoshop (I'm using cs4) Open photo
Step 3
Open your background photo. I used this outerspace photo that I found on google images key word outerspace
Step 4
Working on your original photo first. Your background not visible at this point.
On your original photo grab the marquee rectangular tool. Drag a box around your person. Don't make the box touching the person leave space.
Step 4
Grab The magic wand tool and in the options bar at the top select to third icon over from the wand (substract from selection)The wand should now have a - next to it.
Step 6
With the wand click in the negative space (the background). You should get a dotted moving outline around the person. If you have moving dots on the background or a little past the edges of the person, keep clicking on those dots until all of your unwanted area is removed.
Step 7
In your menu bar way at the top click on your arrange documents icon (second in from the right)Select a two up layout. Now you will see both pictures. Grab the move tool, place over the person, which should be selected, and drag onto the background picture. You may need to resize it. In order to resize, go to Select-save selection and select (I used the persons name). Next, go to select again and click on load selection ( the moving dots will appear around the person again). Now right click on the person, a menu will drop down click on free transform. You will be able to move and resize the image now to fit your background.
Those are the basics!
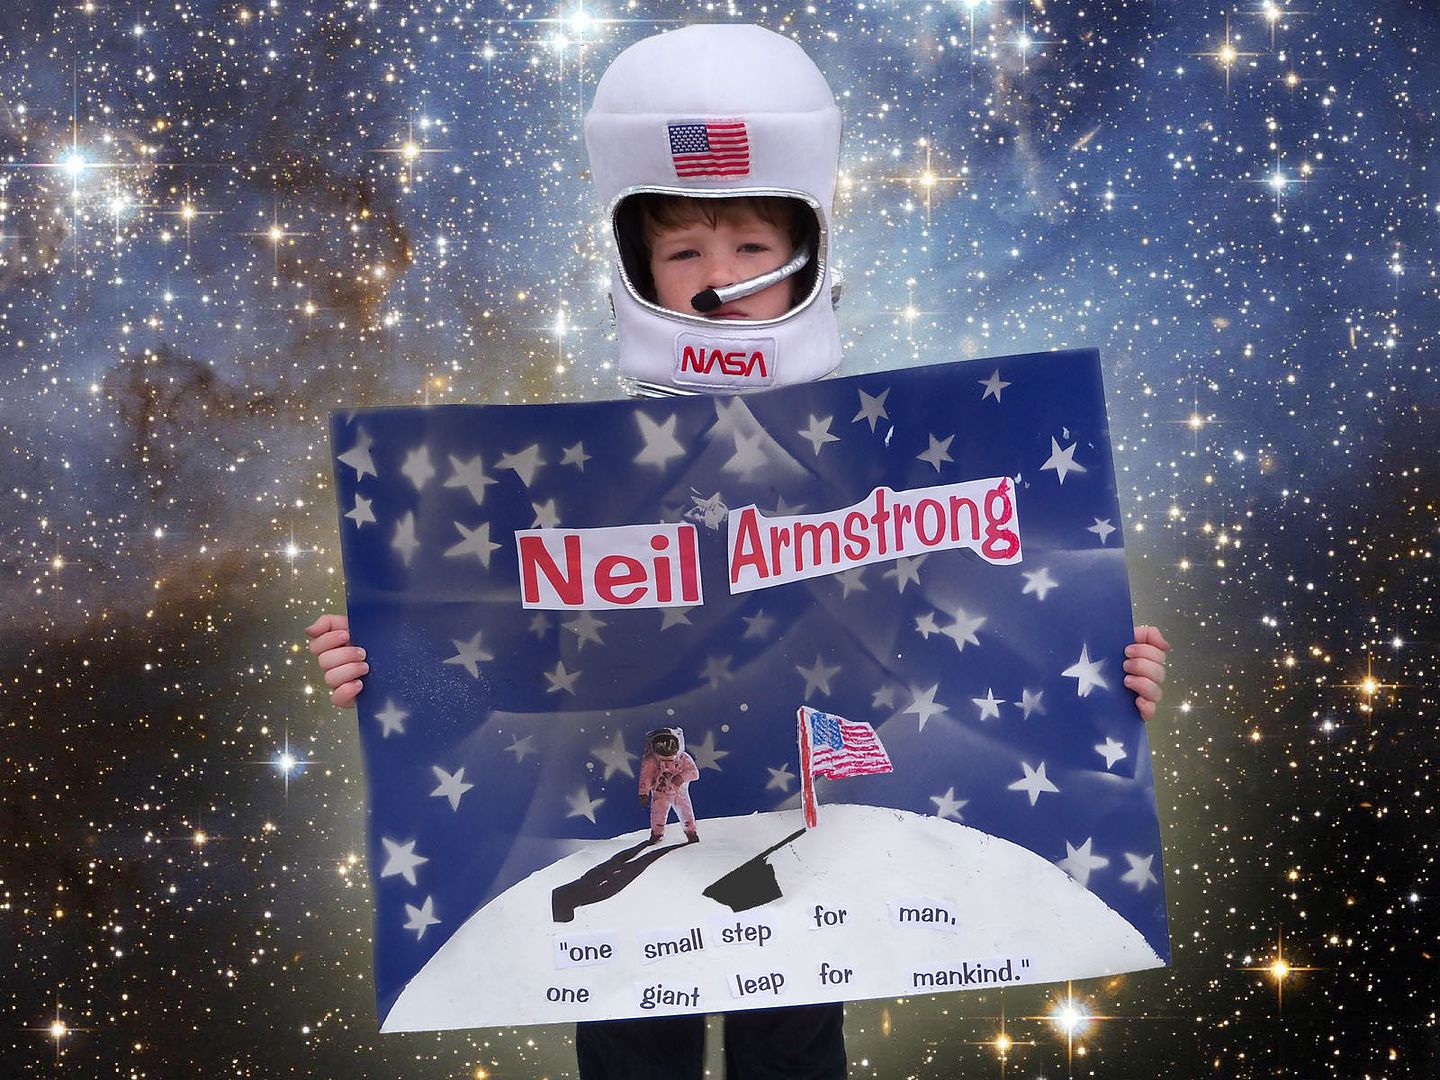
This is a picture of my son( grade 2) holding his school project. He had to do a report about a famous American. He chose Neil Armstrong. The report was to be presented orally. He was nervous about presenting it but was very happy with his poster, which gave him confidence. He had fun making the poster. When my kids have projects to do at home I try to take the opportunity to give them a little art lesson.
This lesson was painting techniques. My son drew stars on poster board. I cut the stars out with an xacto knife and he used it as a stencil. He spray painted with silver paint(want to get a little boy excited about an art project? Hand him a can of spray paint!:)) over the stencil to create the stars. He really liked the way the paint sprayed past the rounded edge of the stencil. He said it looked like the clouds in the real night sky and pointed up to the sky to show me. The other stencil was for the moon. He used a natural sea sponge to paint the surface of the moon. Instant craters!






5 comments:
How fun! You are very creative!!
BRAVISSIMA CINDY...you are getting a PRO...!!!!!!
....Cara; without even asking...I did permit myself....( I hope it's fine with you...?): I did exchange your picture on my sidebar and did choose another of your magnificient works; the little waterfall....it's beautiful and it inspires so much the upcoming spring!!!!!!! I hope so much my friends will notice it and jump over to your art - gallery!!!!
I am convinced they will love it as much I do!!!!!!
have a wonderful weekend, Cara!
ciao ciao elvira
stopping by from SITS!
Excellent tutorial and way to go, getting the little guy so involved in his project.
love the photos...man i am going to have to invest in photoshop
Thanks so much for the info!
As I'm a complete idiot on all this stuff, you've got yourself a new follower!
Post a Comment