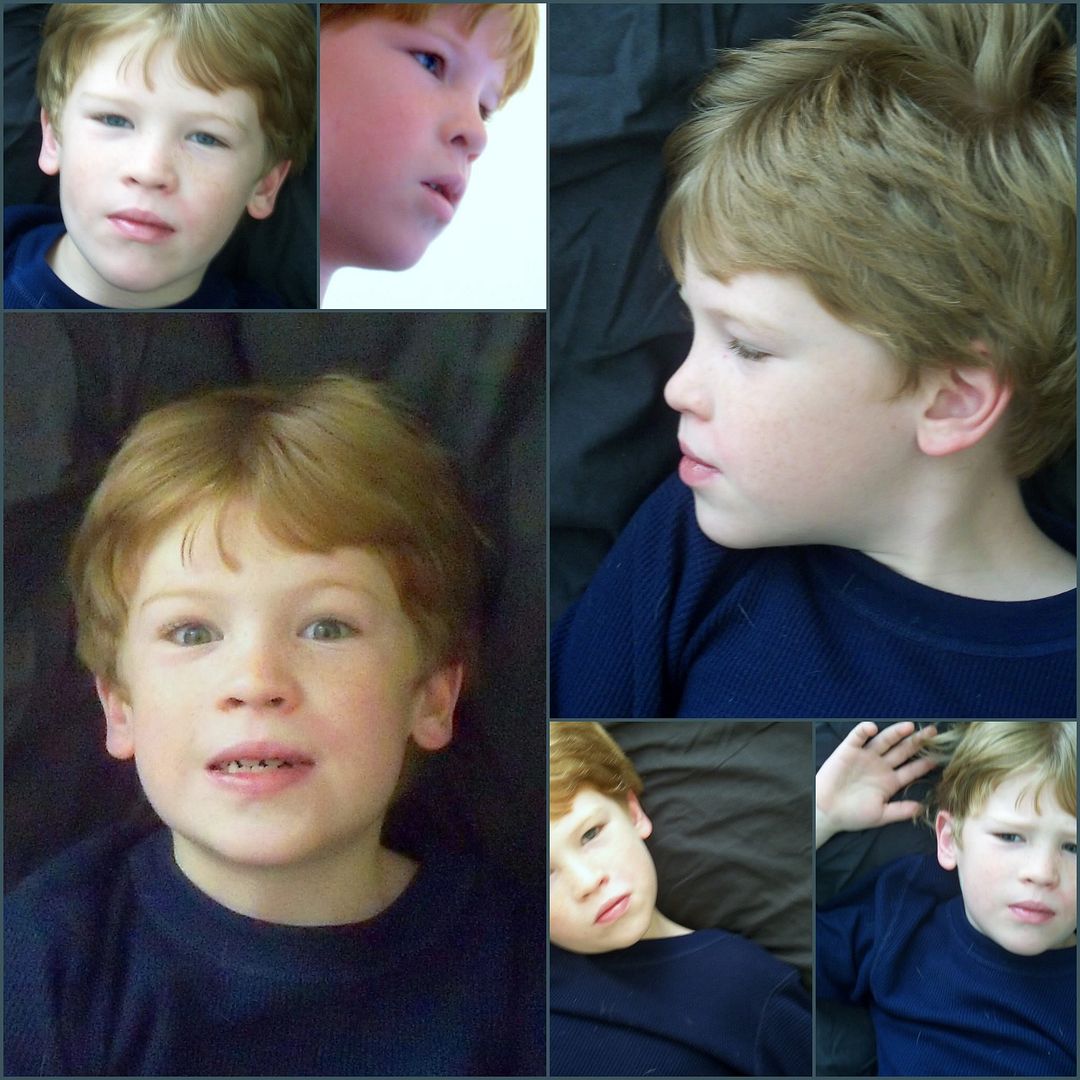
The Making of A Champion! These pictures are from my son's wrestling scrimmage last weekend. The coach thinks he has the makings of a champion.
Today we went to Blue Springs to see the beautiful manatees.
You can see more pictures from today's visit over at Creatively Fit
See more beautiful mosaic a Mary @ Little Red House
Sunday, January 31, 2010
Oh no...Another Blog!!!
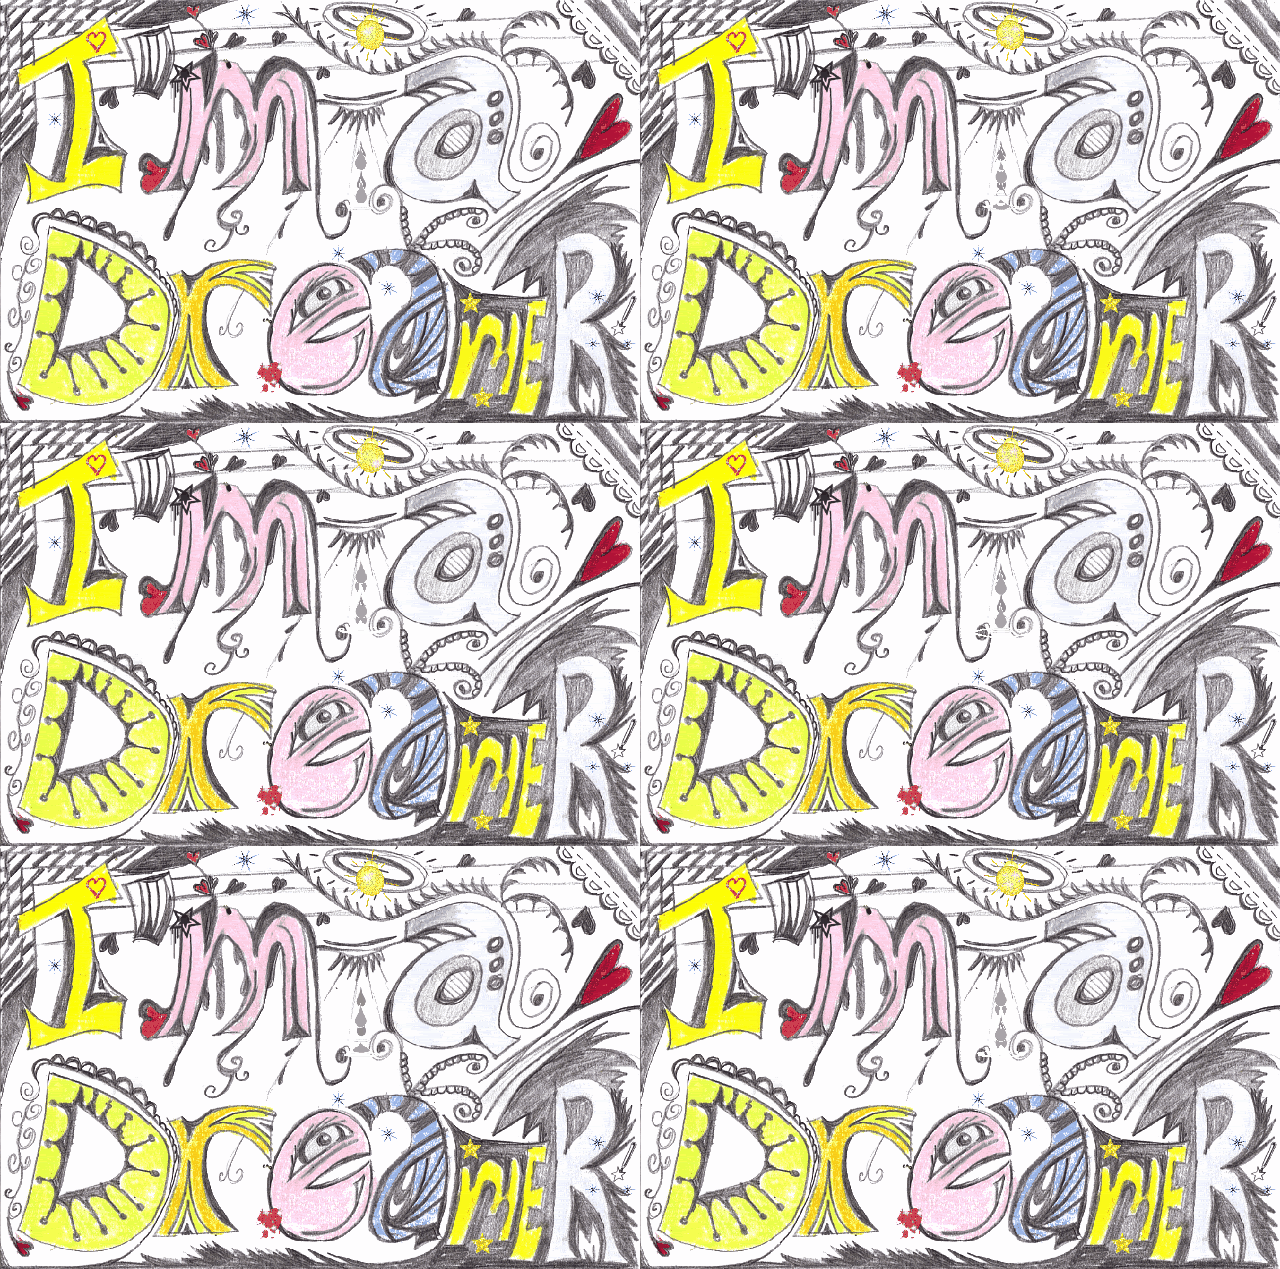
Well, I started a new blog. This blog is meant to get my creative juices flowing. I will try to do a doodle a day. What I love about doodles is the fact that they are spontaneous and contain no high expectations. Most of my doodles are done while I'm on the phone or procrastinating about getting other chores done.
I am hoping that these doodles will inspire me to create more "serious" works of art. By working with ideas that come from my sub conscience or stream of consciousness I hope to create original, one-of-a-kind artwork.
I hope you will have a look at my new blog and possibly follow along on my journey to create something new and exciting! I will also be offering some doodling tips so that you can pursue your own doodle dreams. Maybe, I'll even feature your doodles from time to time!
So come on over to.... Doodle It Up!! And see what not-so-serious art is filling my basket!!
Labels:
artwork,
doodle it up
Saturday, January 30, 2010
Can I do a doodle a day?
Here's another doodle.
I have a small basket of index cards and pencils/pens next to my computer. What if I grab one everyday and do a little doodle?
I know I'm not disciplined enough to do a painting a day and I really don't have the time to work on one painting everyday. BUT a doodle may be doable. Ok, I have to admit I get hives just thinking about the "...a day" challenge. And the truth is I am almost positive I will not be able to stick to it. It would turn doodling into a chore. I can't have that! Doodles are not serious! Doodle are just fun! ---Forget the doodle a day idea!! Let's just call it Doodle When I Feel Like It:)
I started a new blog just for my doodles. I'm not sure where it will go. I'm just going to DOODLE IT UP!! and see what happens. If you'd like to follow me along on my doodle journey CLICK HERE
Labels:
artwork,
doodle it up
Thursday, January 28, 2010
Doodling is good for the soul!
Doodling is natural, instinctive and most of all FUN!! Anyone can do it! It will unlock your inner artist. It is 100% original JUST LIKE YOU!! I think we should frame our doodles and hang them on the wall FOR ALL TO SEE!! Let's celebrate the artist within all of us!
HUMM...Maybe I should start a doodle club! Would you join?? I'm sensing another blog coming on...oh no.... Here's what I have so far, Yes another blog... Doodle it Up!
Here is a great song to doodle to... Fire Flies (this is my son's favorite song right now) Pick up a pen or pencil and grab a piece of paper, HIT PLAY and start doodling:)
This is not the official video. This is someones creative interpretation. I think the background is from a video game.
The song is Fireflies by Owl City
Labels:
artwork,
doodle it up
Tuesday, January 26, 2010
Trying to get creatively fit again!
Switching it up a little:)
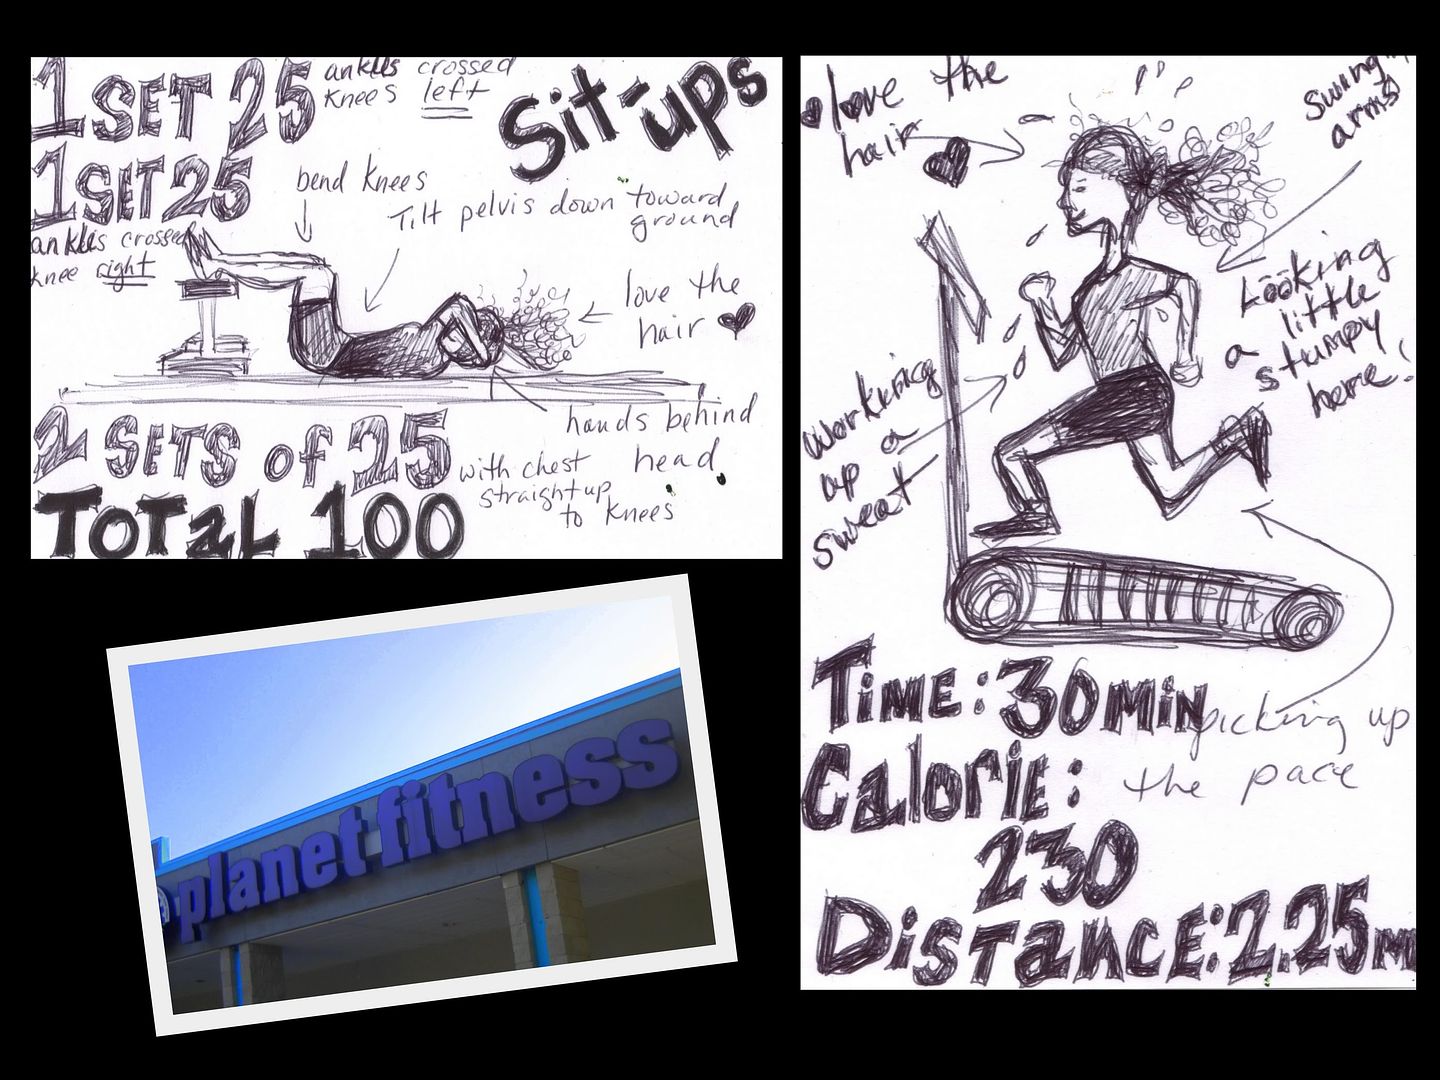
Here are a couple of very quick sketches of my workout routine this morning. (not my finest work)
Join us over a Creatively Fit! Let's support each other and have some fun getting fit!!
Here are a couple of very quick sketches of my workout routine this morning. (not my finest work)
Join us over a Creatively Fit! Let's support each other and have some fun getting fit!!
Labels:
artwork,
creatively fit
Monday, January 25, 2010
Mosaic Monday! & Get Your Craft On: A Vision Blog
Over a year ago I started a Vision Blog. This is a personal blog that I did for myself. I thought of the idea while reading The Secret. In The Secret it is suggested that you make a vision board, which is a bulletin board of picture representing the way you envision your life. You should place this board someplace where you will see it everyday. Visualization is key in turning your dreams into reality.
Doing a vision board and blog is fun and easy. Here is a mosaic that I made of some of the pictures found on my vision blog. I printed out this mosaic and tacked it to my vision board, which hangs next to my bed. When you've achieved a vision replace it with a new one.
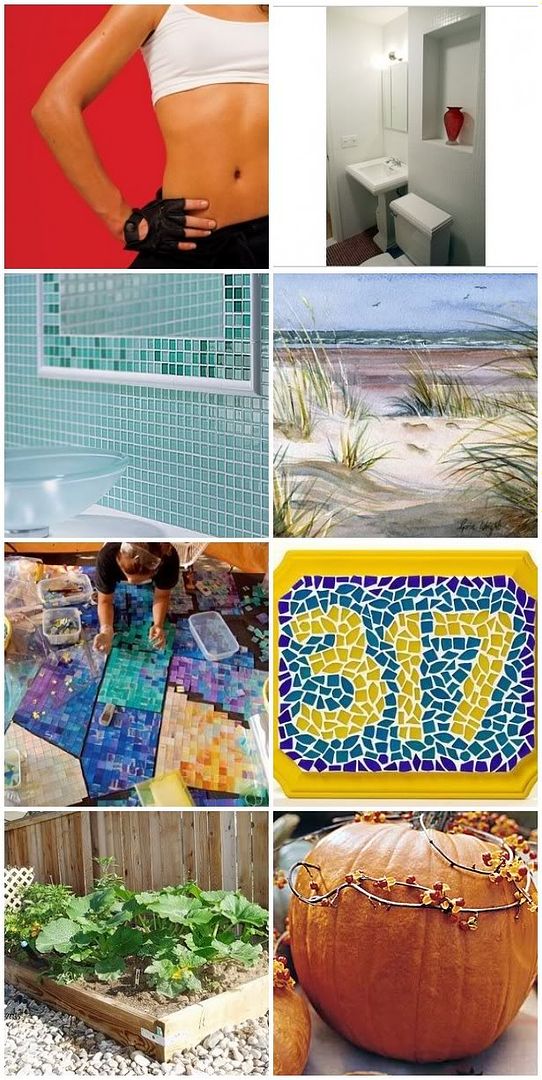
As you can see, one of my vision was to do a mosaic. I'm happy to say this vision has become a reality. The mosaic below shows some of the steps to making this simple mosaic address plate, which now proudly hangs above my garage door!
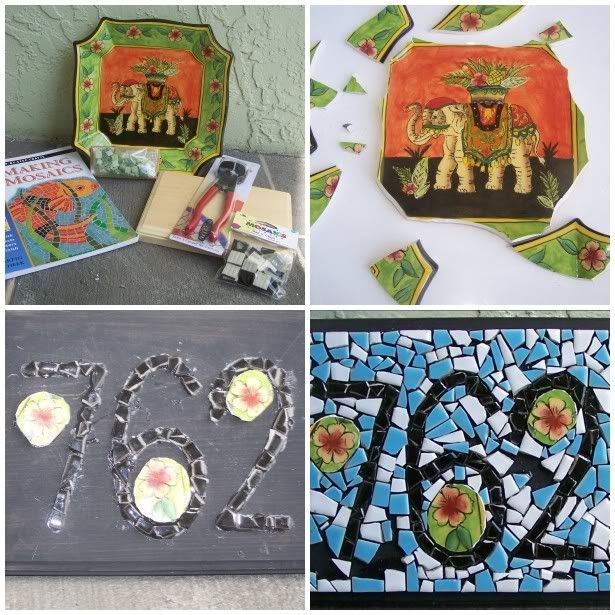
Materials:
Wood Plaque ,ceramic tiles and plate, gloves, hammer, old towel, snipers, mosaic tile glue (at craft store), sanded grout, sponge
Process :
1. Paint plaque desired color. 2. Print out enlarged numbers in desired font. 3. Transfer numbers to plaque using chalk method (rub back of paper with chalk, place paper chalkside down on plaque, trace over numbers with pencil. Chalk will transfer onto plaque). 4. Break up plate and tiles into smaller pieces.(Place tiles on hard surface, I used my garage floor, cover with old towel, and smash. 5. Gather broken pieces. Begin gluing pieces in numbers first. Use snipers to shape pieces if necessary. 6. Next glue pieces to perimeter of plaque. Begin filling in the rest. 7. mix grout in small plastic container(following directions on package). Spread grout over tiles. Wipe excess grout off tiles. 8. Allow to dry. I also applies grout sealer for added protection.
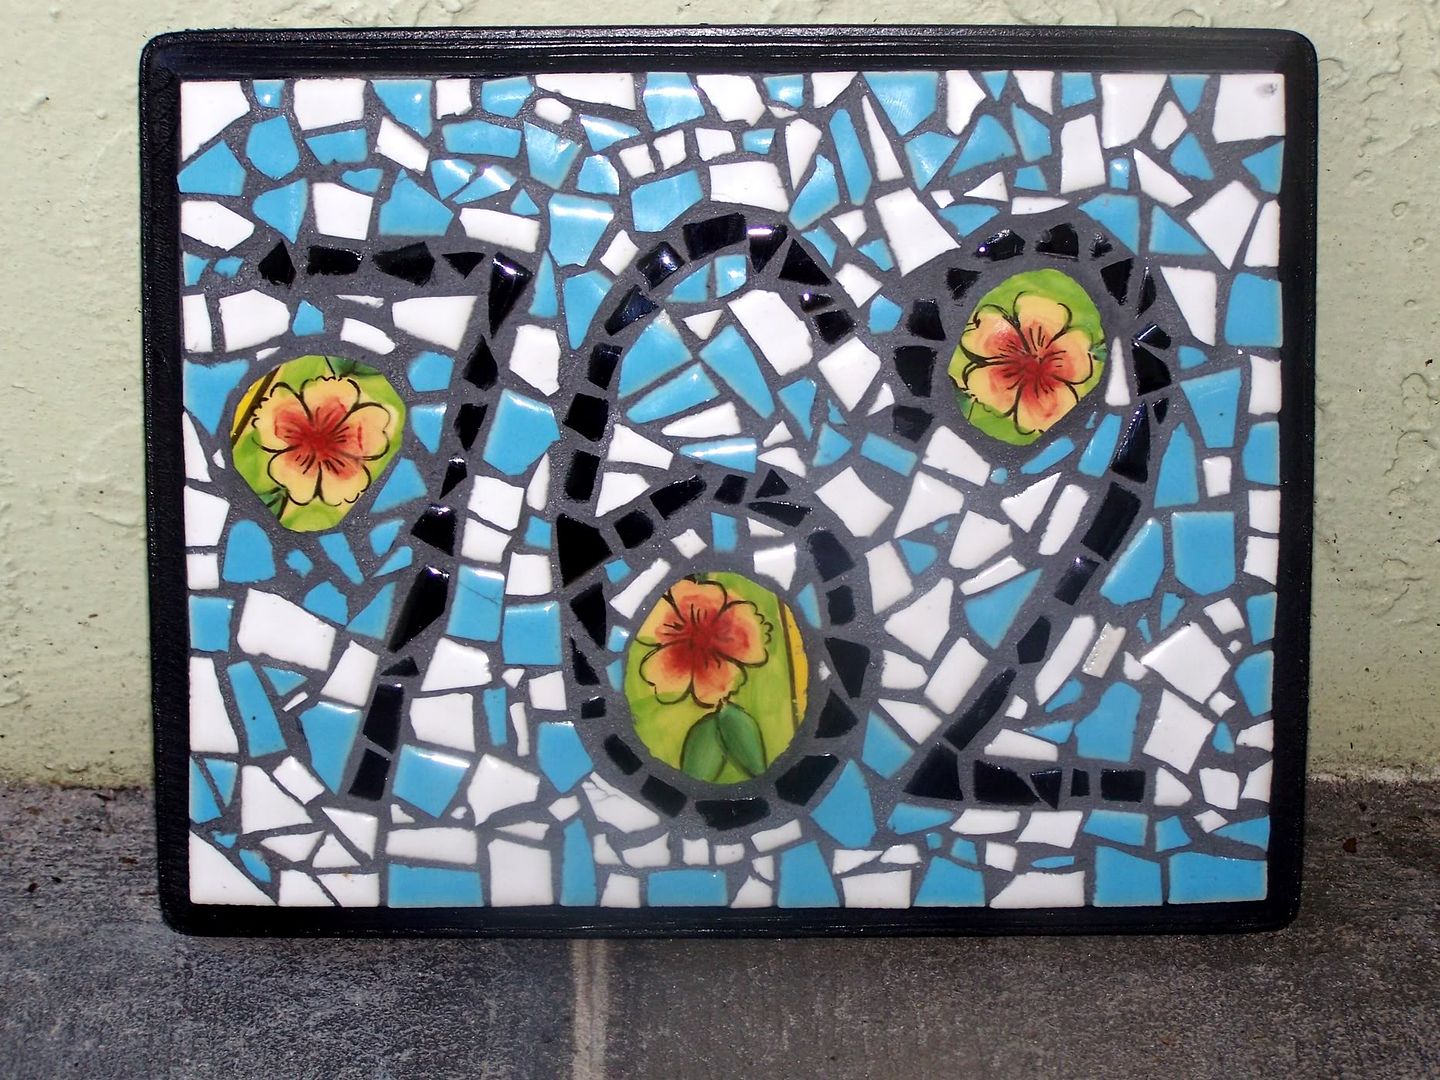
I have also achieve some other vision from my vision blog. I will share them in the coming weeks. I will also share more about my thoughts on The Secret. I think I need it back in my life.
One vision, the very fit body, has yet to be achieved. Maybe today will be the day that I start on that vision:)
See more wonderful mosaics at Little Red House!
See more great craft ideas at
Labels:
artwork,
get your craft on,
mosaic monday,
vision blog
I ♥ faces "Texture"
This week at I heart faces the theme is texture!
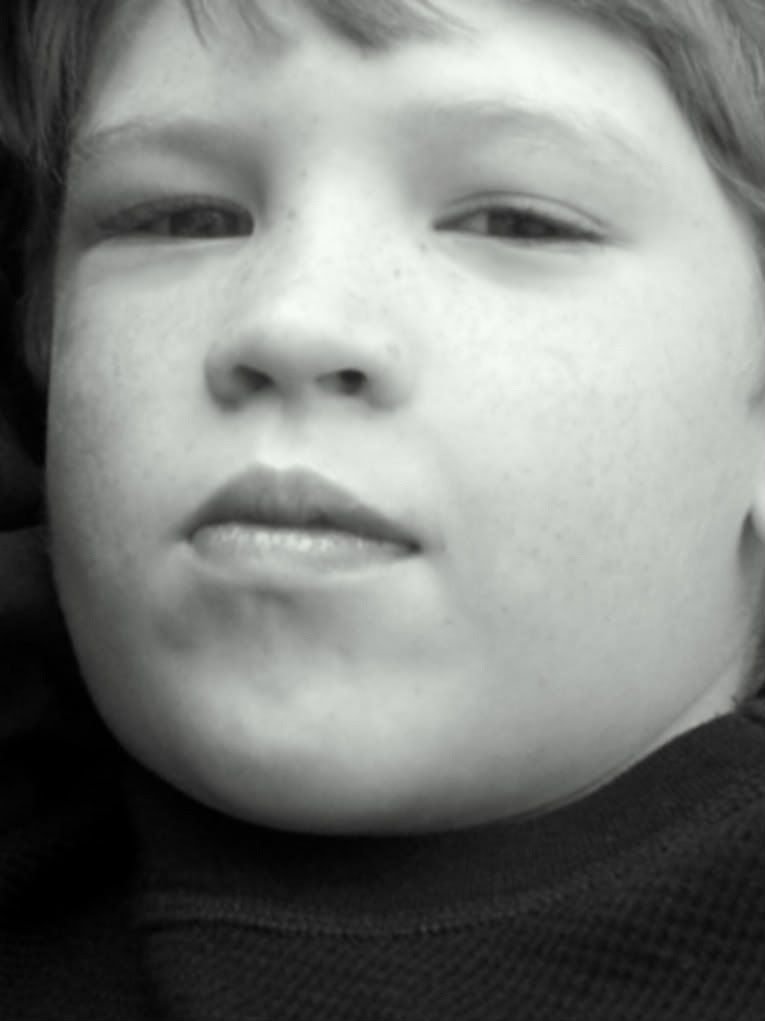
This picture was taken during one of my Creatively Fit walks ( a blog started by me and my bff Hayley @ When I Grow). I was walking around this historic little town, inspired by all the details and yes, texture, taking a picture of the giant witch, when a man called to me from across the street. I hesitantly crossed over to where he was standing. He asked if I would take his picture. I agreed, only if he would allow me to post it on my blog:) He agreed. This is the picture that I took with my modest little point and shoot. I know this is probably not the type of picture they were looking for (no texture added) but what the heck!:) It's fun joining in over at i heart faces! )
See more texture photos at
This picture was taken during one of my Creatively Fit walks ( a blog started by me and my bff Hayley @ When I Grow). I was walking around this historic little town, inspired by all the details and yes, texture, taking a picture of the giant witch, when a man called to me from across the street. I hesitantly crossed over to where he was standing. He asked if I would take his picture. I agreed, only if he would allow me to post it on my blog:) He agreed. This is the picture that I took with my modest little point and shoot. I know this is probably not the type of picture they were looking for (no texture added) but what the heck!:) It's fun joining in over at i heart faces! )
See more texture photos at
Labels:
creatively fit,
I heart faces
Friday, January 22, 2010
The answer revealed...
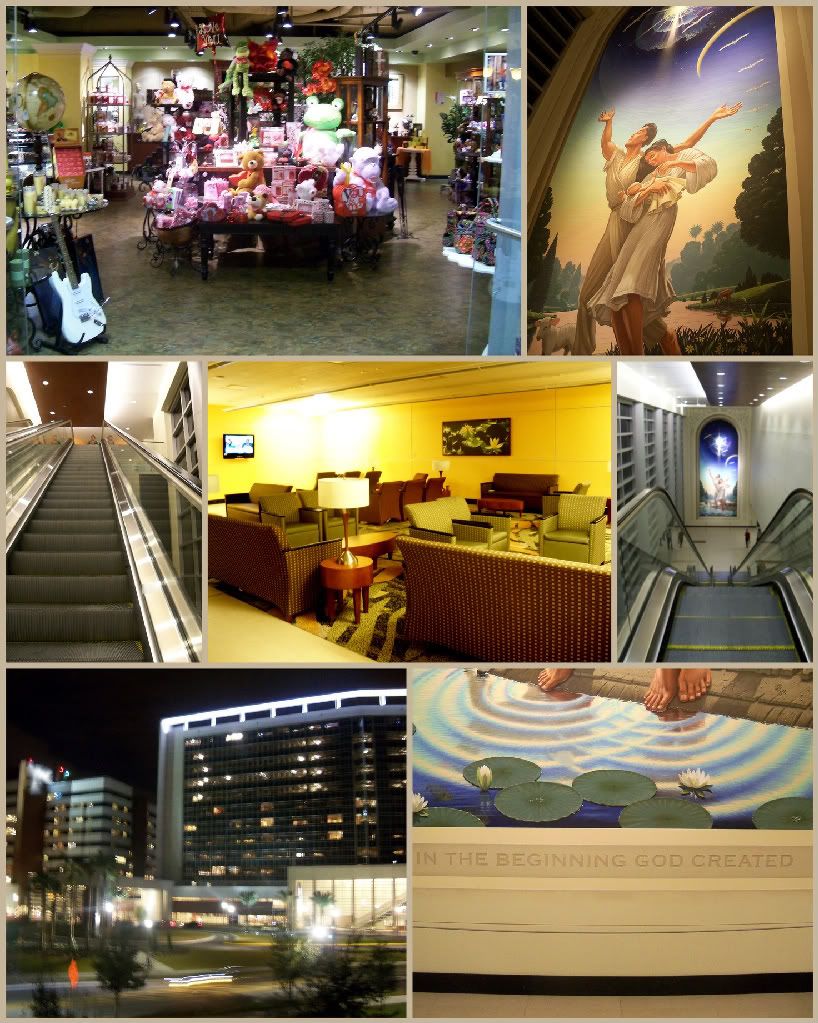
The question in yesterday's post was, "Where is this?" Based on this collage...
Some of the guesses were:
A Hotel
A Museum Downtown
A Church
An Airport
A Market Place or Furniture store
The Answer is...
A Hospital!!
Florida Hospital
My father-in-law is in this hospital recovering from open heart surgery . I am happy to say that he is resting comfortably in this amazing hospital that is jokingly referred to as the hotel. His surgery was successful! He had a quadruple bypass and valve replacement. (very scary)
When we visited him he seemed in good spirits and was receiving excellent care. We were amazed at how quickly this all happened. He went to his doctor 2 weeks ago to have a procedure done in which a camera was inserted through an incision made in his thigh and sent up to his heart (I'm not 100% sure if this was the exact procedure but it was something like that). It was due to this procedure that they discovered he would need the surgery. One week later he was in the hospital having the surgery and now he is on the road to recovery! Amazing!!
This hospital was equally as amazing! Around every corner was a work of art inspired by scripture from the bible. There were beautiful chapels and even meditation gardens.
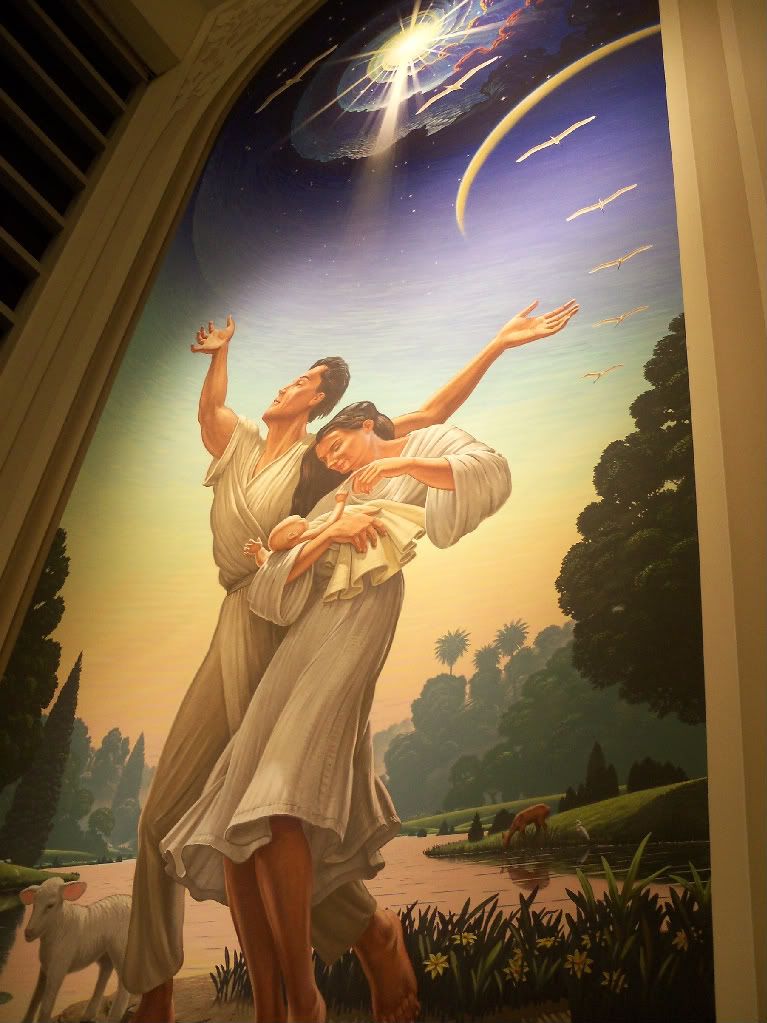
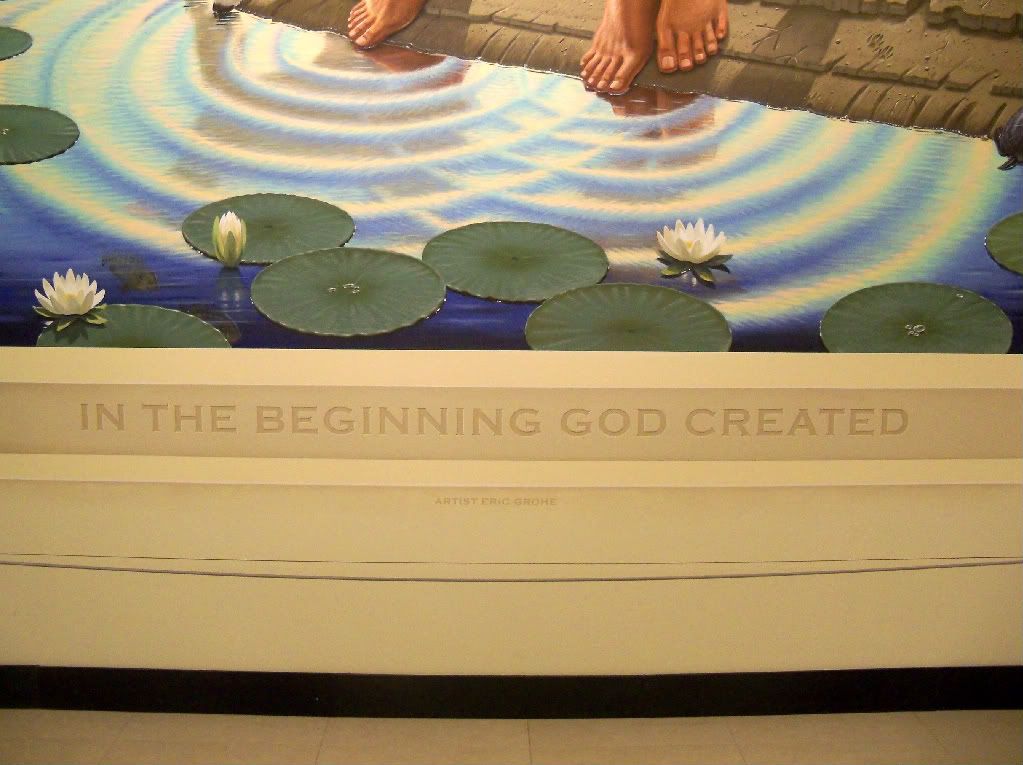
One of the most beautiful works of art was the mural seen below.
This mural is opposite the escalator by the main entrance of the hospital. (You can see this escalator from outside the buliding, pictured above.) I remember seeing a streaming video of this mural as a wip, as the artist performed his magic. I was so excited to see this mural in person. When we got to the bottom of the escalator we walked up close to the mural, which was roped off, about 3 feet away from the wall. The most impressive part of this fantastic mural was the trompe l'eoil effect in the border. It was so convincing that even at 3 feet away it was hard to tell if it was real or painted. AMAZING!!
The name of this incredible artist is Eric Grohe
I would love to spend a day as his apprentice learning some of his masterful tricks.
You can read more about this mural here
I know I have used the word amazing several times in this post. That is because
I am AMAZED by this hospital
I am AMAZED by these doctors
I am AMAZED by the quality of care that my father-in-law is receiving
I am AMAZED by my fil's positive attitude
I am AMAZED by the artwork and artists presented in Florida Hospital
Not only am I amazed, I am truly thankful.
Thank you for playing my little guessing game. I hope it was fun!
Wednesday, January 20, 2010
A guessing game...
Where is this? (Doesn't have to be an exact location, just a general idea i.e. supermarket, school etc...)
I thought I'd have some fun seeing if you could guess where this might be. There are some clues in the collage but I'd really like to know based on your first impression. Friday I'll post more about the beautiful mural in this collage and the answer.
If you'd like to play, please leave your guess in the comment section.
Tuesday, January 19, 2010
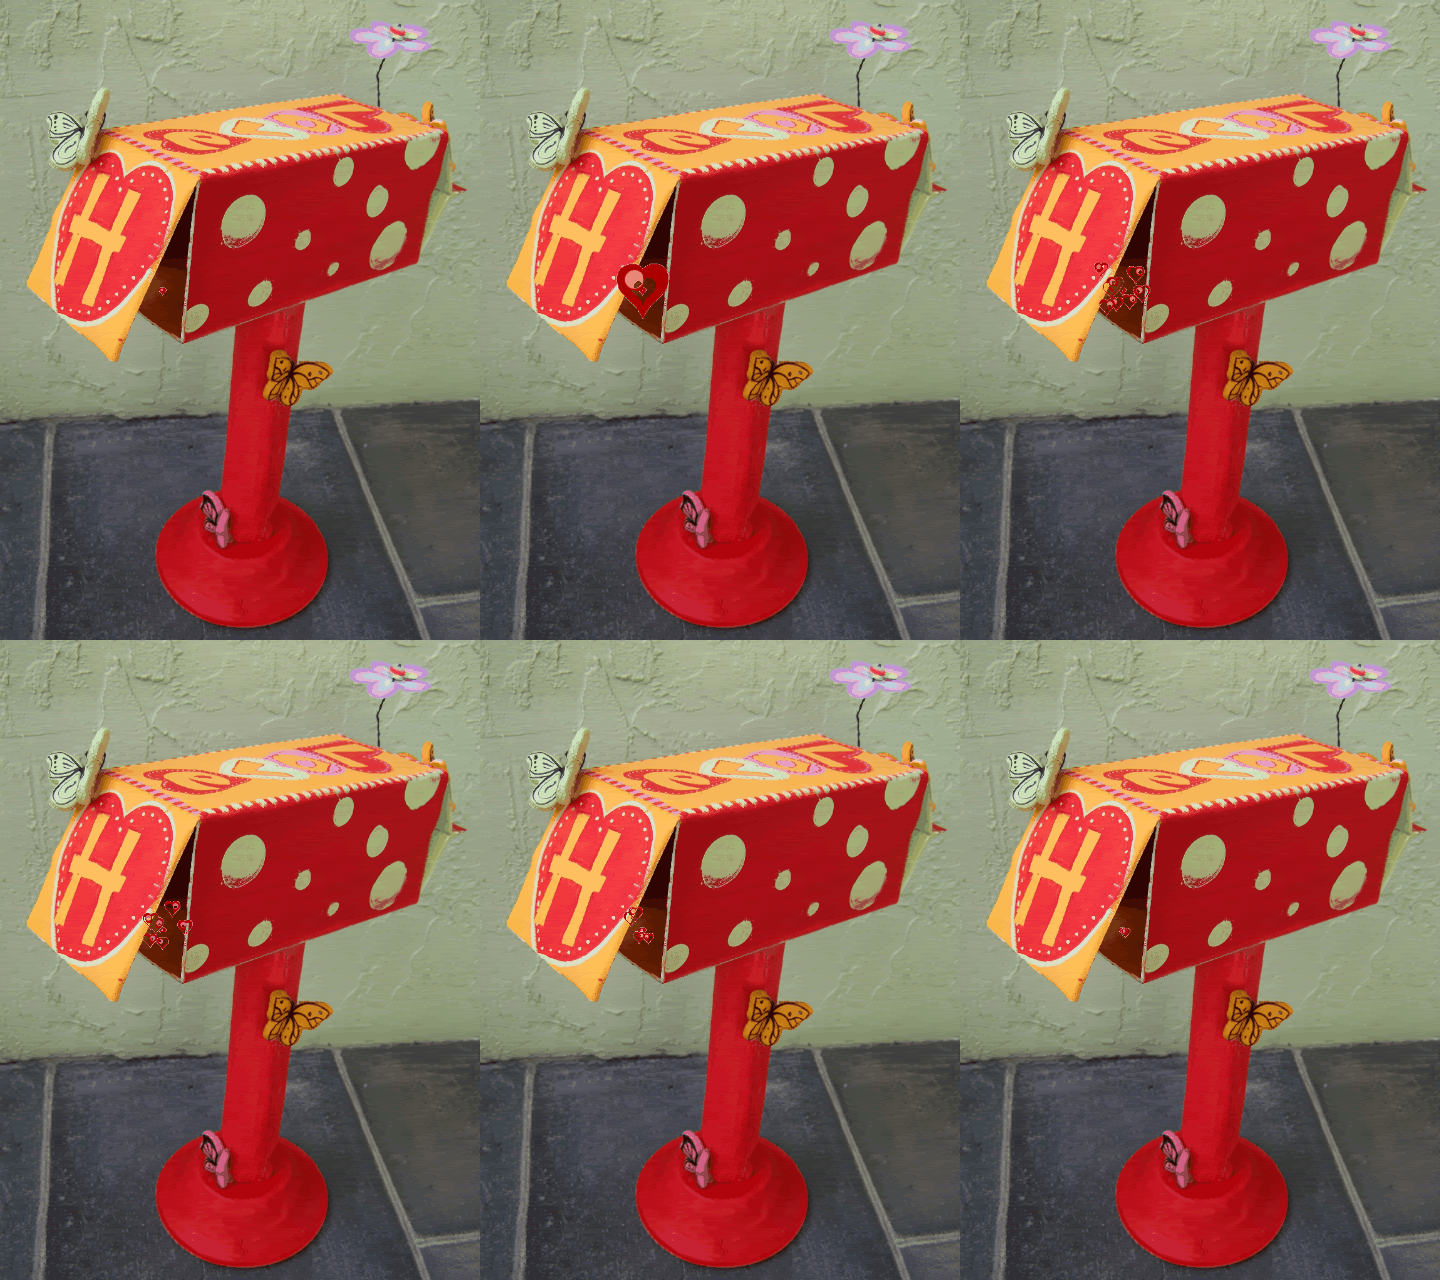
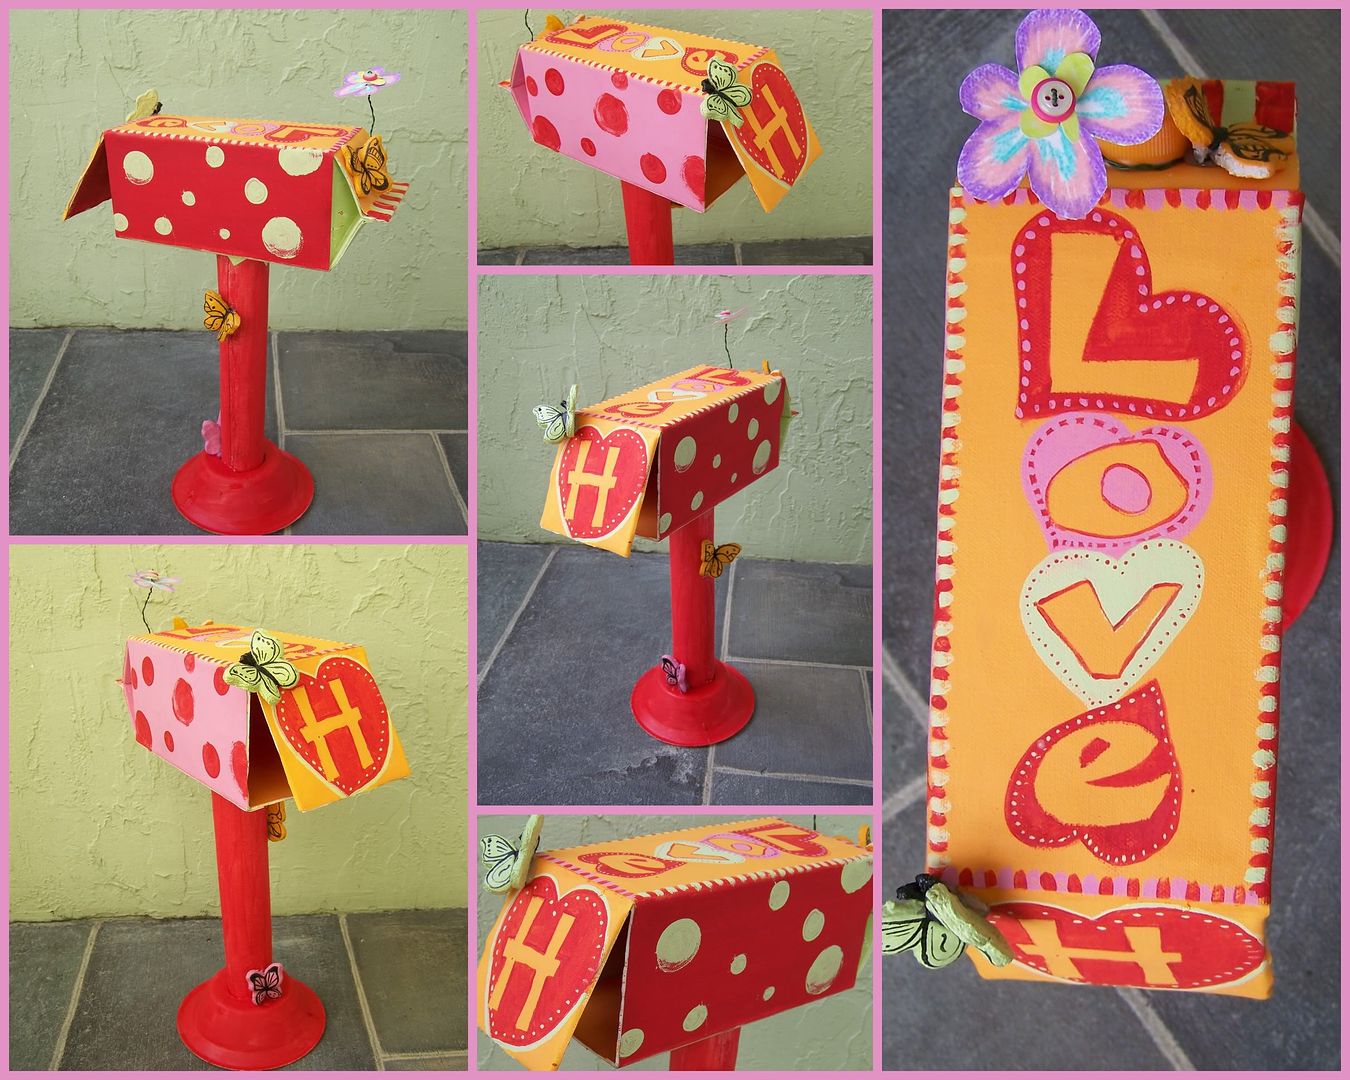
How to make a mailbox for Valentine's Day!
This project was on my other blog that I lost, Art Spectrum. I thought now would be a good time to repost it since Valentine's Day is approaching.
My son challenged me to make a mailbox out of an oj carton. No, he didn't want to help. He just wanted to watch mommy work!:) But this project would be fun to do with a willing child!
Material:
1. One cleaned out oj or milk carton.
2. One exacto knife
3. Acrylic craft paints, brushes
4. One sheet of primed canvas (from one of those canvas pad you buy at the craft store.)
5. Craft glue
6. Hot glue gun
7. Decorative applique (whatever you have around the house. I used butterfly salt dough ornaments that I made for another project)
8. One paper towel roll
9. One styrofoam bowl.
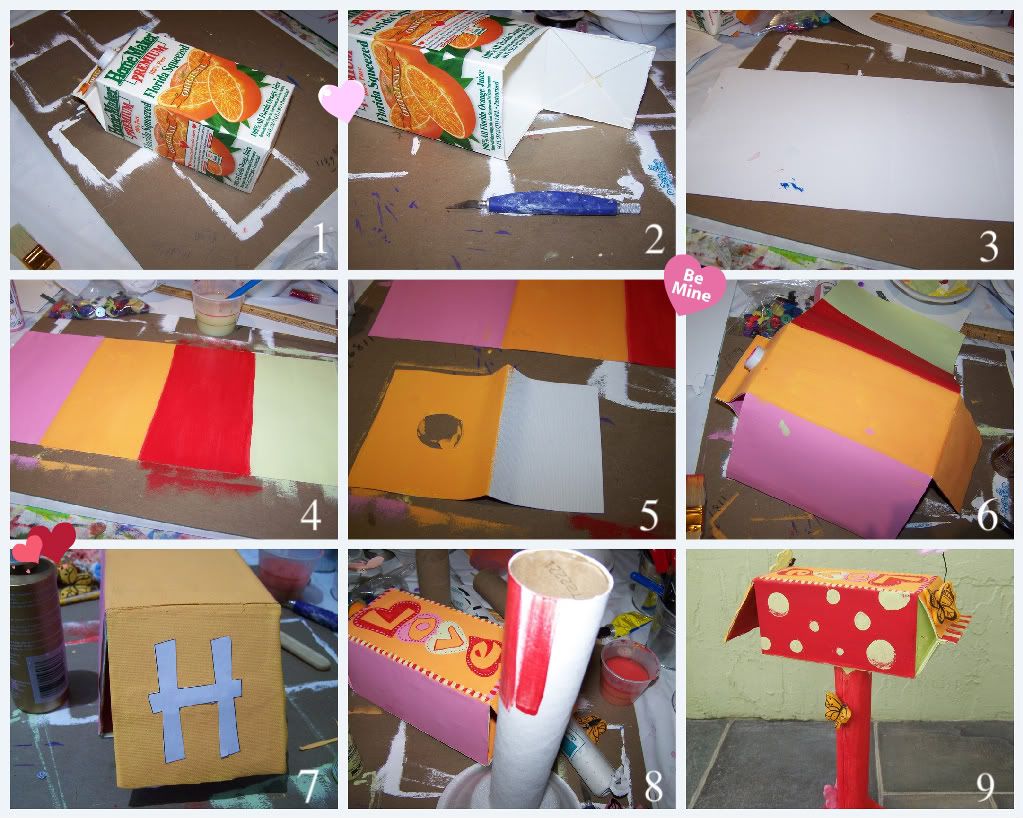
Process:
1. Clean carton well
2. Cut three sides of the bottom with exacto knife.
3. Cut one piece of canvas so that it fits around the whole carton. I started with one 16"x20" sheet. Wrap sheet around carton to make creases.
4. Paint a different color for each panel.
5. Don't forget to cut a piece of canvas for the top of the carton and cut a hole for the lid. Paint that piece too.
6.Once the paint has dried, apply craft glue to the back and wrap around the carton.
7. Cut one more piece of canvas for the door of the mailbox. Paint and monogram. Glue to door!
8.To make the base; Wrap paper towel roll with canvas allowing extra canvas to hang off one end. Cut slits around the canvas that is hanging over the edge. (this will be use to glue roll to bottom of carton. Paint. Paint bowl matching color. Cut a hole into the bottom of the bowl big enough to stick the roll through. If it doesn't fit snugly reinforce with hot glue. Glue canvas on the other end of the roll, to the bottom of the carton.
9.Apply decorative elements with craft glue or hot glue gun. Done!
Display proudly in your home and fill with love notes to your family members!
I'm participating in Amy's Round Robin!
Please stop by and see more wonderful Valentine Day projects and ideas!
Go to Today's Creative blog (one of the best blogs ever!) to see more great crafts!
And My Romantic Home
Labels:
get your craft on,
how to
Sunday, January 17, 2010
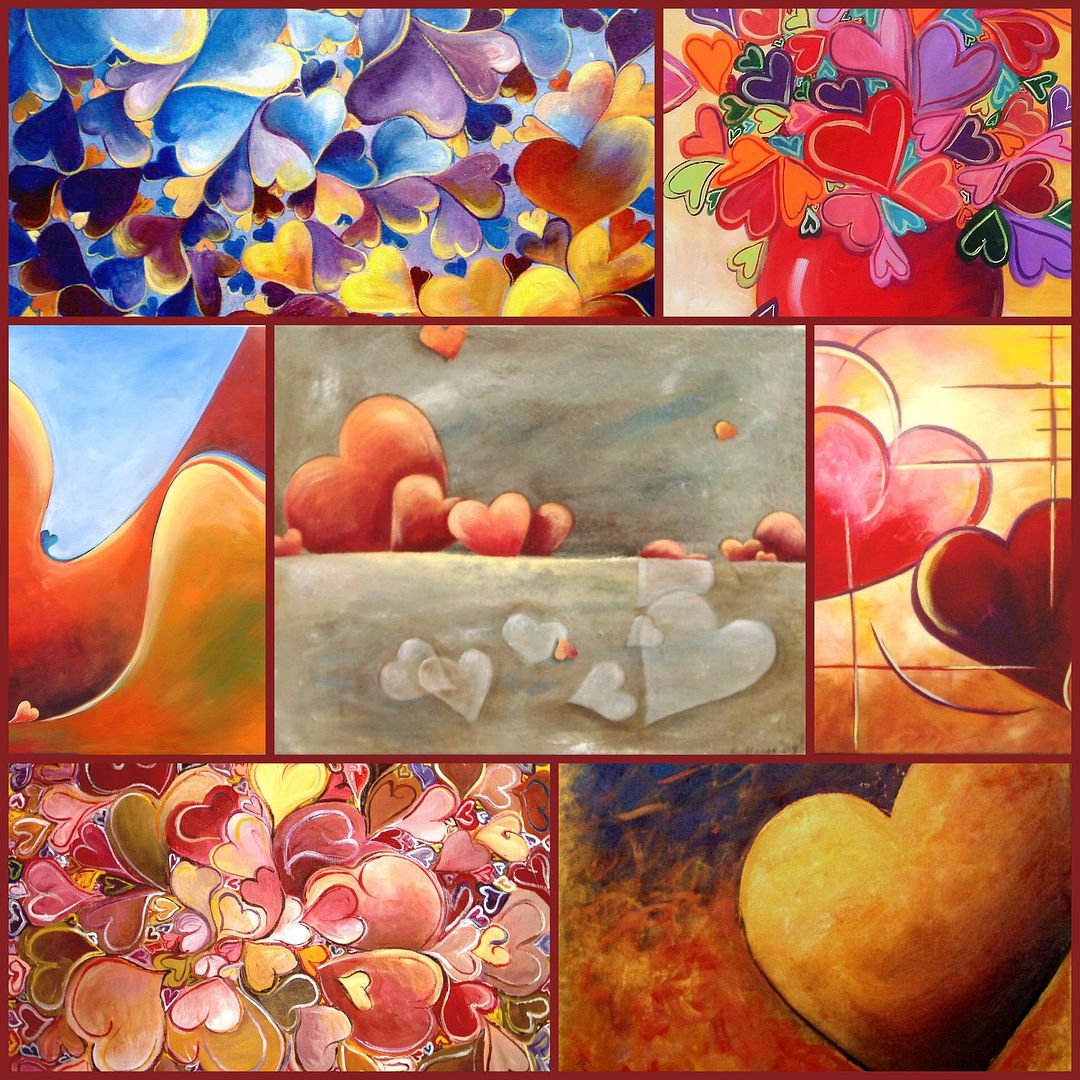
Mosaic Monday! Heart Paintings
Looking for inspiration from the past, I put together a mosaic of paintings, that I did several years ago, as part of a "Heart" series. This series lead to my experimentation with abstract painting. I think I was most happy and free when I was paintings abstracts. I felt I was being true to myself as an artist, painting for me!
Hopefully, I will begin painting again soon. Until then, here's my Heart mosaic for Mosaic Monday!
See more beautiful mosaics at Mary's Little Red House
Hopefully, I will begin painting again soon. Until then, here's my Heart mosaic for Mosaic Monday!
See more beautiful mosaics at Mary's Little Red House
Labels:
artwork,
mosaic monday
Friday, January 15, 2010
Boys!
I live in a world of boys!
I have two boys.
All of my nephews are boys.
I love boys!
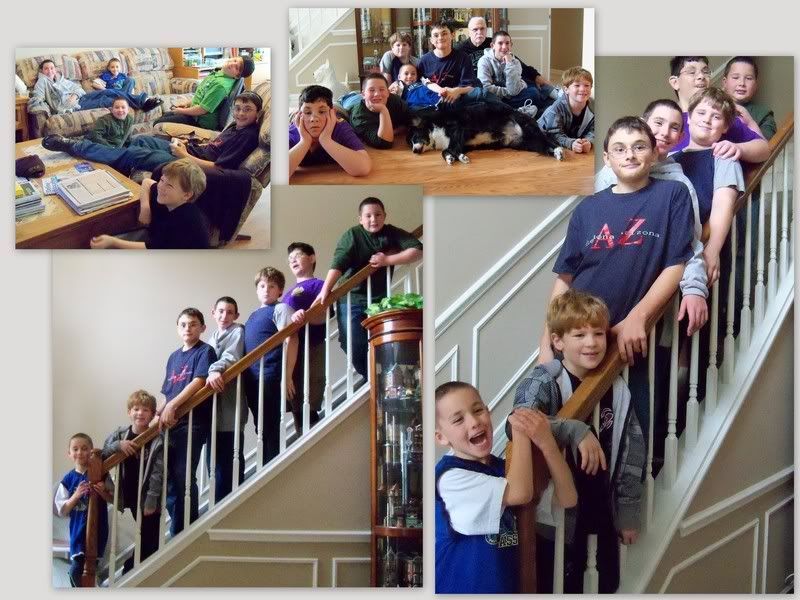
Wrestling practice! 45 boys in a room, sprawling, drop stepping, and head locking! Ah, smell the testosterone. Smells similar to dirty socks:)
Pictured above, most of my nephews, Grandpa and my two boys! (Grandpa, my father-in-law, had a quadruple bypass and valve replacement surgery today.) Please keep him in your thoughts and prayers for a speedy and full recovery.
Boys! FUN, PLAYFUL, ROUGH, LOVING, KIND, SILLY, STRONG, SERIOUS, MINE! Boys!
Labels:
family
Tuesday, January 12, 2010
I ♥ faces "Best Face Photo"
I'm getting to the party late but you know what they say...Better late than never!!
The party continues at I heart faces! This week its "Best face photo" just faces plain and simple:)
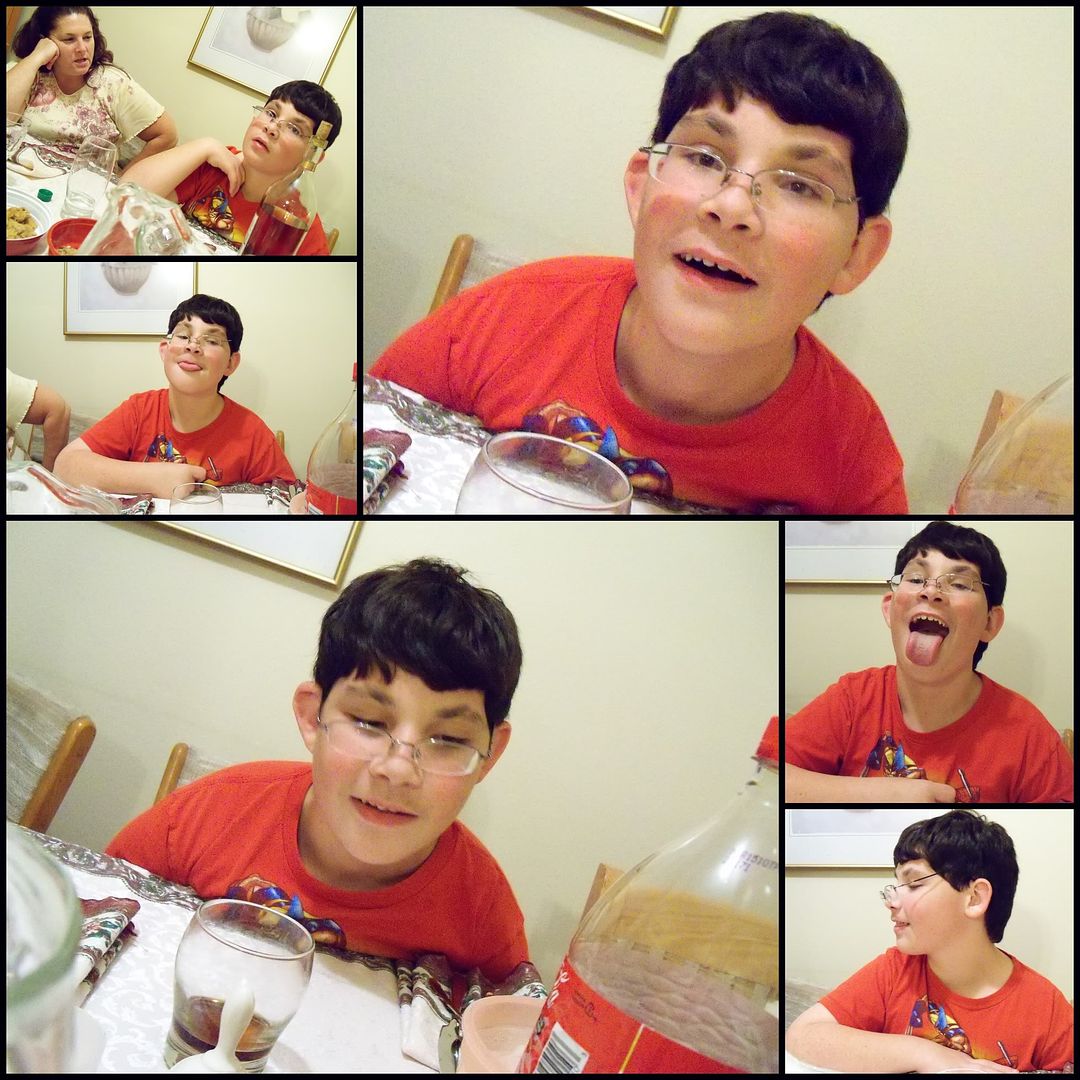
I ♥ this face!
This is the face that gazed up at me, as a baby, cradled in my arms, with complete trust.
photo taken 1/11/2010
There are current almost 900 entries at:
WOW now that's a party!!:)
The party continues at I heart faces! This week its "Best face photo" just faces plain and simple:)
I ♥ this face!
This is the face that gazed up at me, as a baby, cradled in my arms, with complete trust.
photo taken 1/11/2010
There are current almost 900 entries at:
WOW now that's a party!!:)
Labels:
I heart faces
Saturday, January 9, 2010
Prepping for a room makeover!
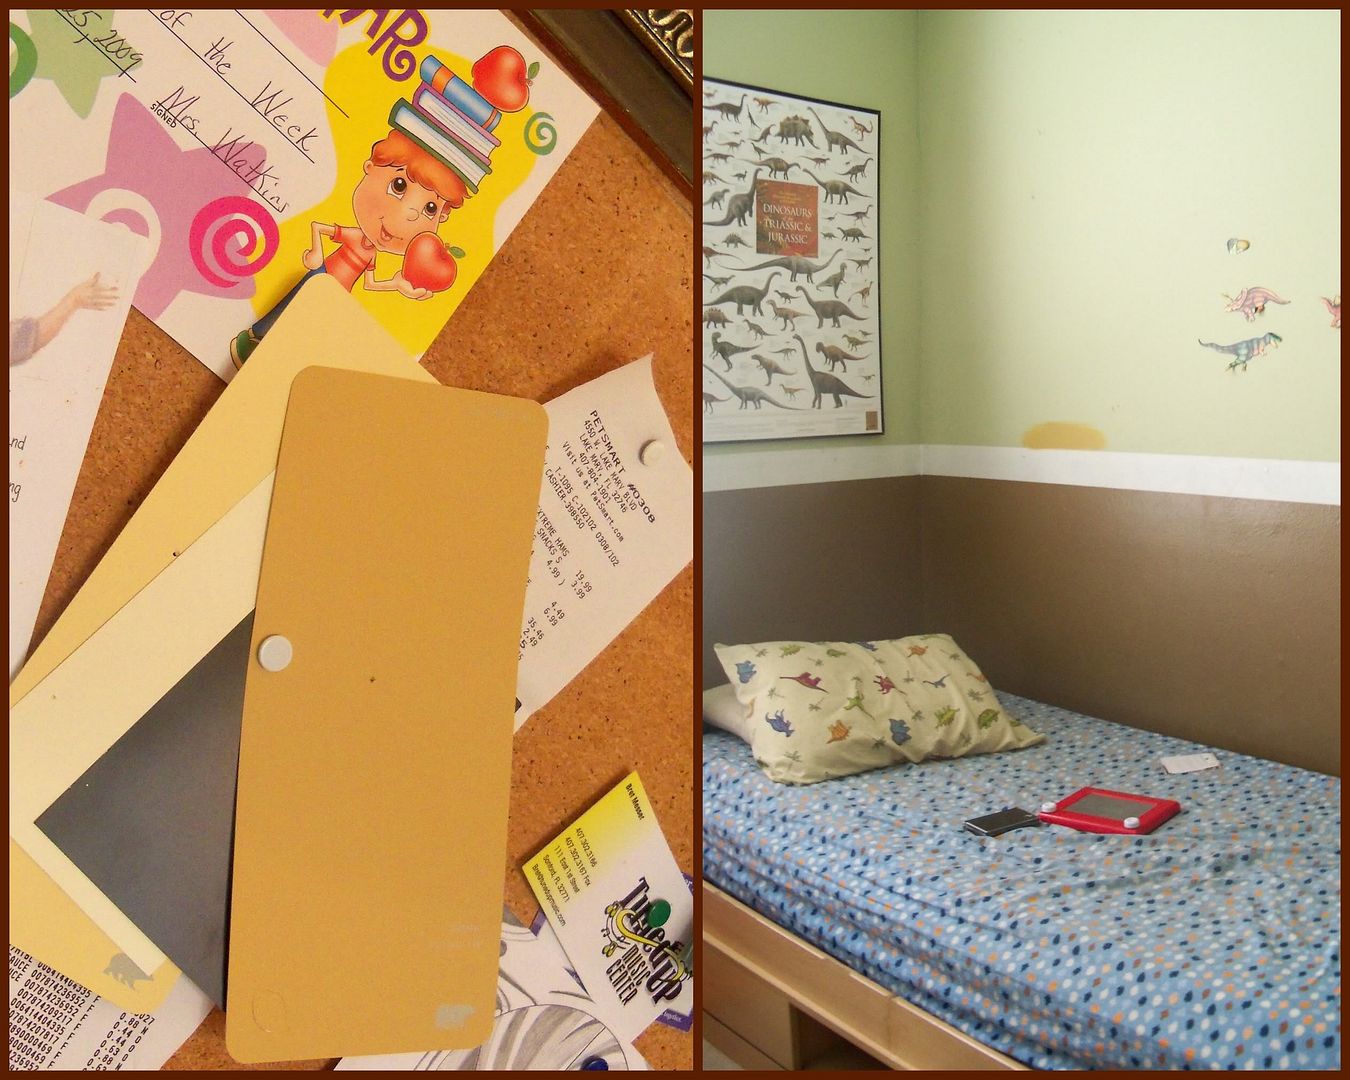
We promised my son that after Christmas we would makeover his room. He wants the colors to be black and gold (UCF colors). How to make a little boy's room look little boy and cool with black and gold?
I am thinking of using the four colors that I have tacked up on the board. The gold (cork) color would be the bottom half of the wall, black would be an accent(painting the chair rail, yet to be installed), the cream and pale yellow would be painted above the chair rail in horizontal 12" stripes. Hmmmmm...We shall see...
Notice the ds next to the etch-a-sketch, on the bed:)
Step 1 fill and sand dents in wall than prime!
Stay tuned for the results...This could take a while:)
Thursday, January 7, 2010
"I ♥ Faces" Photo Challenge!
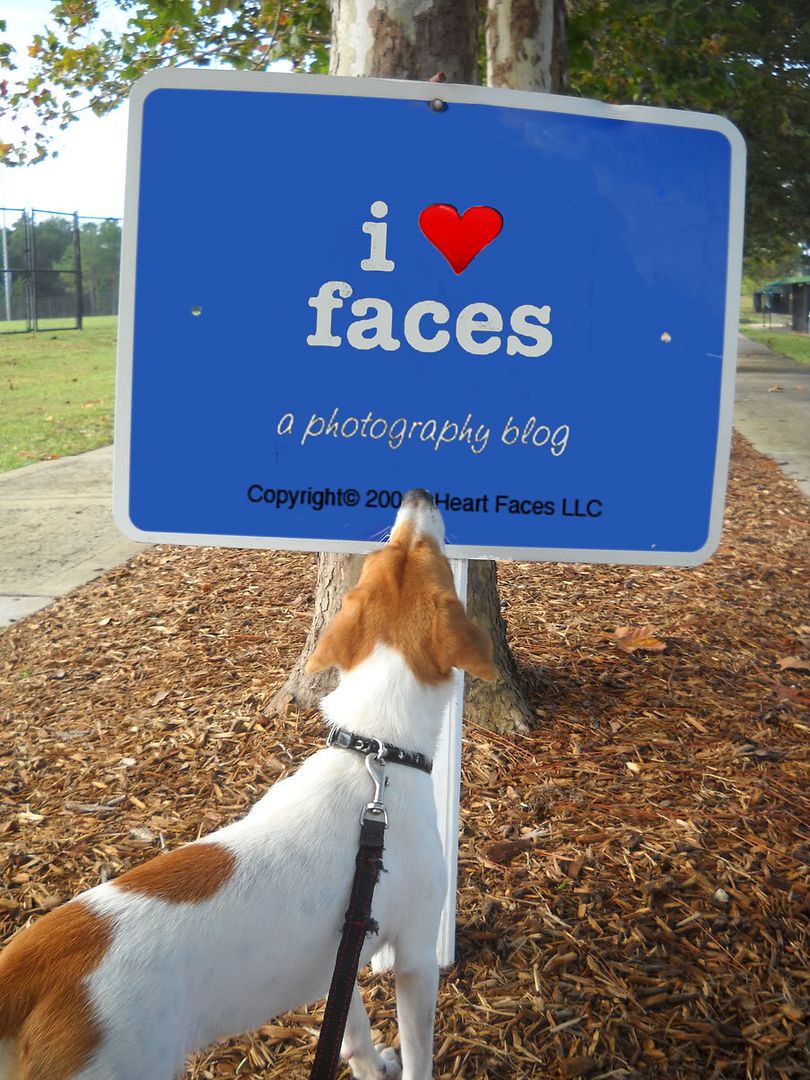
In honor of I Heart Faces 1st birthday, this week's challenge is to incorporate their logo in a photo.
I will be taking a photoshop class starting next week. so I thought I'd make this a photoshop challenge for myself.
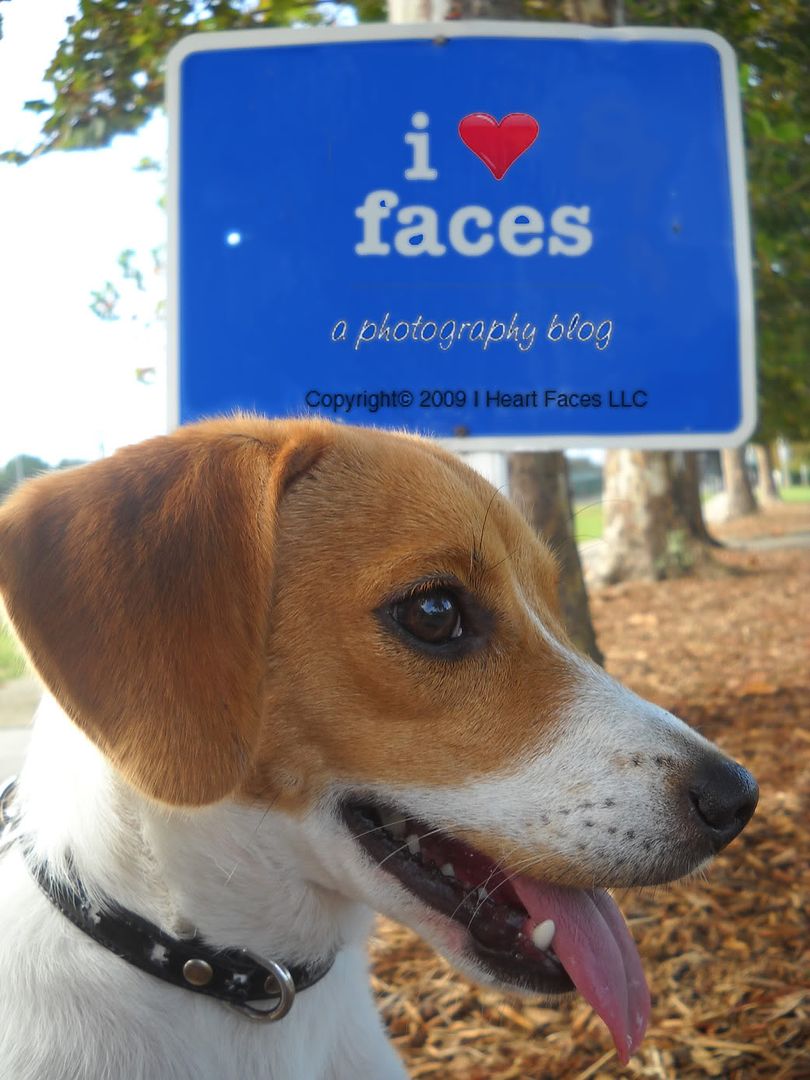
I had these cute pictures of Lucy reading a sign (she's very bright). The original sign said "No dogs allowed past this point". I changed it to "i ♥ faces"
Here are some great examples of custom street signs that inspired me!
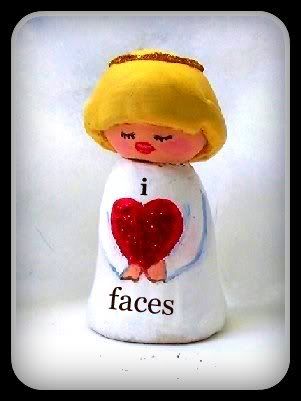
Here's one more. This is a little doll that I made out of air dry clay. What? She has a face:)
“I am submitting these photos into the I Heart Faces logo photo contest. By entering, I am granting I Heart Faces LLC permission to consider my photo for use in the marketing and promotion of this website.”
See more creative photos:
One of my favorite entries can be found at When I grow up!
Labels:
I heart faces
Tuesday, January 5, 2010
Mardi Gras Mask!
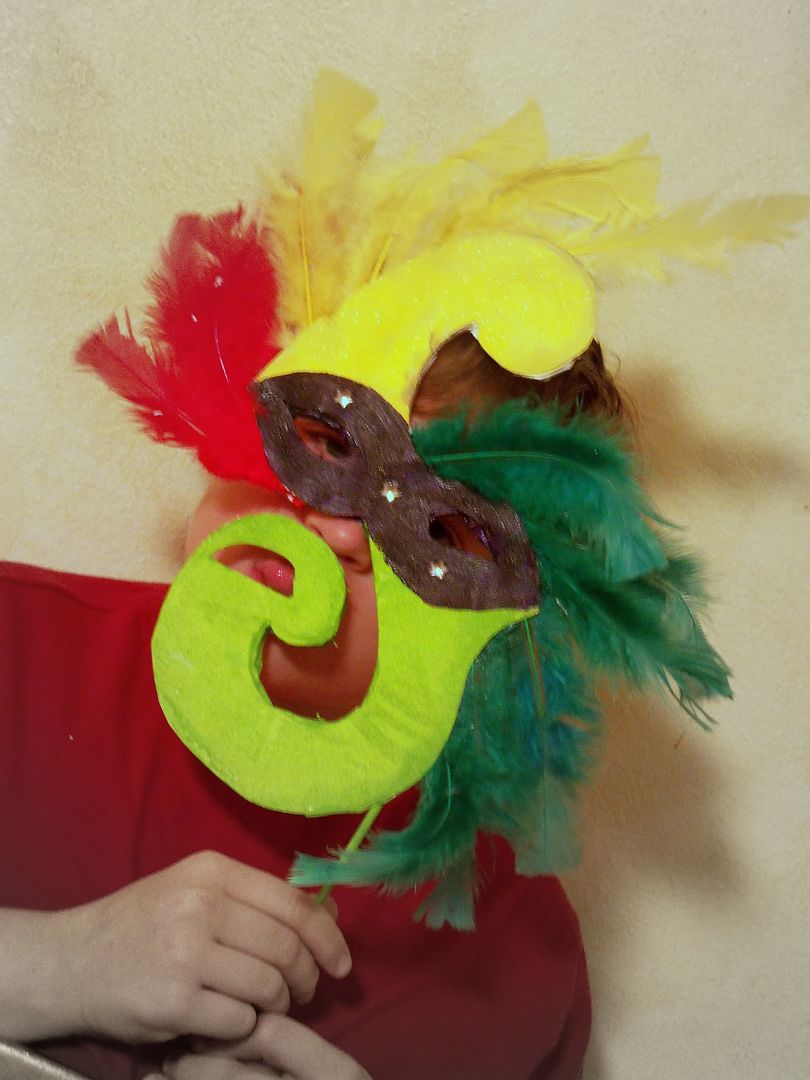
My sixth grader had to make a Mardi Gras mask for his literature class.
I helped him design the shape of the mask. The rest was up to him.
Materials:
1.One canvas sheet
2.One piece of foam core
3.Spray adhesive or craft glue
4.Paint and brushes
5.Glitter
6.Feathers
7.Star Rhinestones
8.Bamboo skewer
Steps;
1.Sketch design idea on paper, limited only by your imagination!
2.Draw shape of mask on canvas sheet and cut out.
3.Paint
4.Sprinkle glitter into wet paint
6.Trace mask shape onto foam core and cutout with x-acto knife
7.Spray foam core with adhesive or spread glue on foam core.
8.Arrange feathers in glue, on foam core
9.Press painted canvas mask onto sticky foam core mask (this sandwiches the feathers between the foam core and the canvas)
10.Embellish with rhinstones
11.Stick bamboo skewer into foam core
Done!
Head to Today's Creative Blog to see more crafty ideas and link one of your own!
Labels:
artwork,
get your craft on
Sunday, January 3, 2010
Mosaic Monday!
Christmas Day!
This is my nephew. He is one terrific kid!!
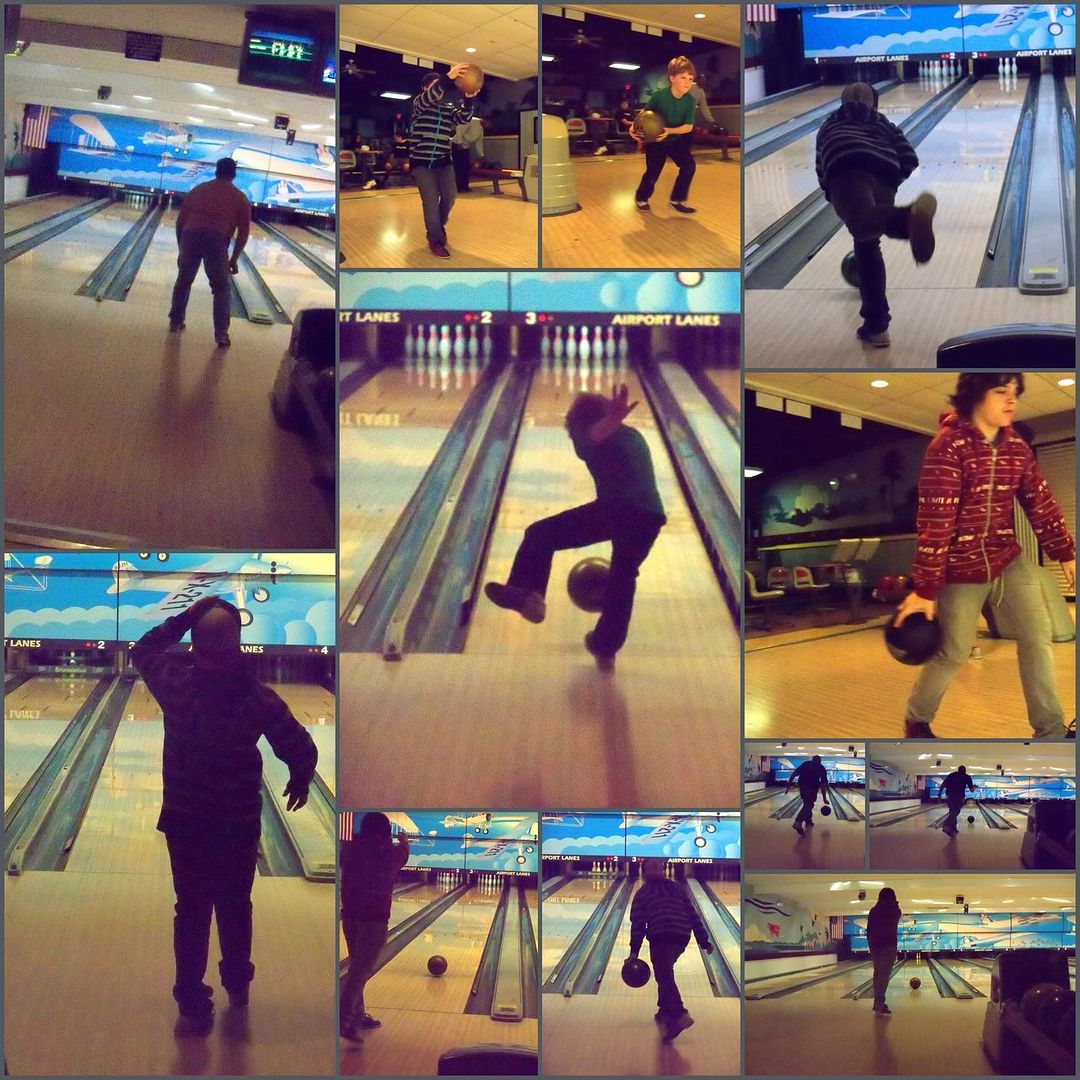
This next mosaic is bowling with family on New Years Day!! We resolve to have lots of fun this year!
See more marvelous mosaics at Mary's Little Red House!
This is my nephew. He is one terrific kid!!
This next mosaic is bowling with family on New Years Day!! We resolve to have lots of fun this year!
See more marvelous mosaics at Mary's Little Red House!
Labels:
mosaic monday
Saturday, January 2, 2010
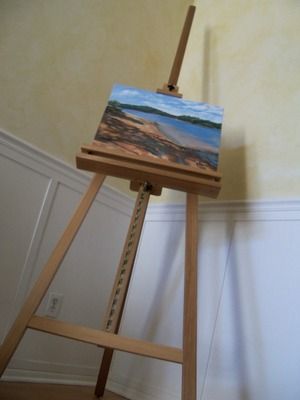
What's on my easel?
Well, right now it's a painting that I did last year.
This is my new work space, my beautiful easel!! I have been rearranging the spaces in my house. My studio has been turned back into a dinning room. My lovely new easel is in the corner of my living room. I will be working on setting it up so that I can paint, on a regular basis. I chose not to pursue the rented studio because I first need to commit to painting everyday.
I still need a good light and a caddy for my supplies. Hopefully, it will be fully set up in the next week or two(once the kids go back to school). I may even try to add a "What's on my easel?" Feature, once a week. We'll see...
Labels:
artwork
Friday, January 1, 2010
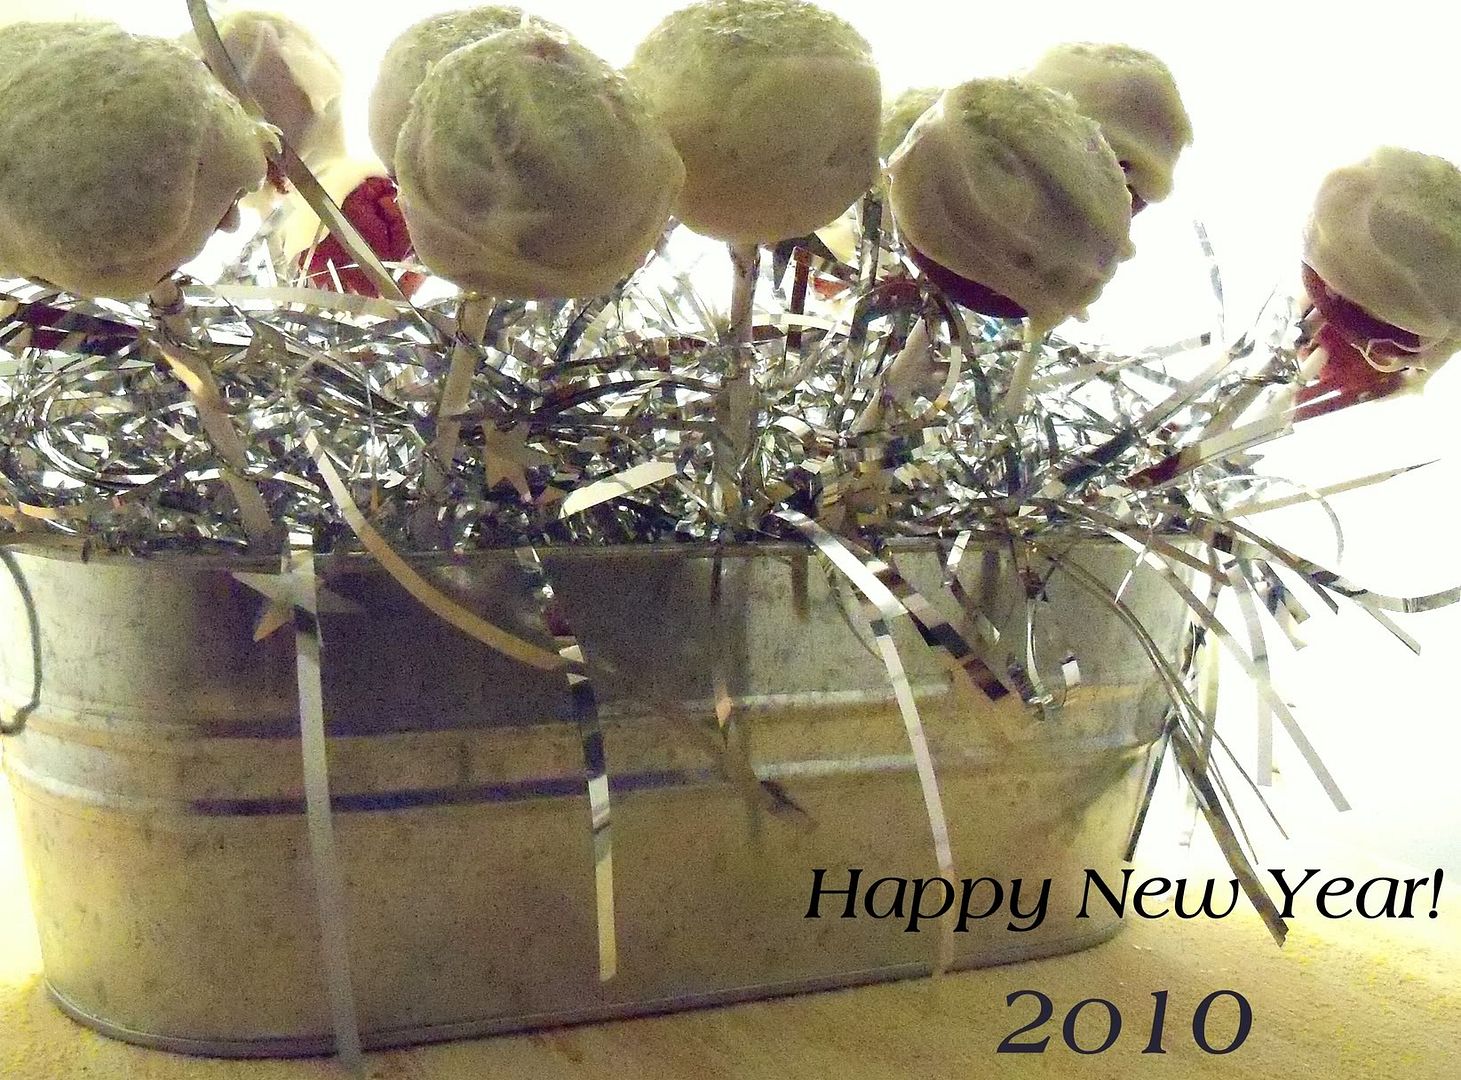
Welcome 2010!!
Red Velvet Cake Ball Pops! Recipe Here
To create the display:
I already had the tin. I bought some metallic shredding, silver star garland(to wrap around the sticks, lollipop sticks, and floral foam.
This made a festive centerpiece to bring to my Sister-in-laws. The pops were nibbled away, one by one, as we ticked toward the New Year!
Have a Ball in 2010!!
I'm joining Show and Tell Friday over at a wonderful Blog My Romantic House
Labels:
family
Subscribe to:
Posts (Atom)